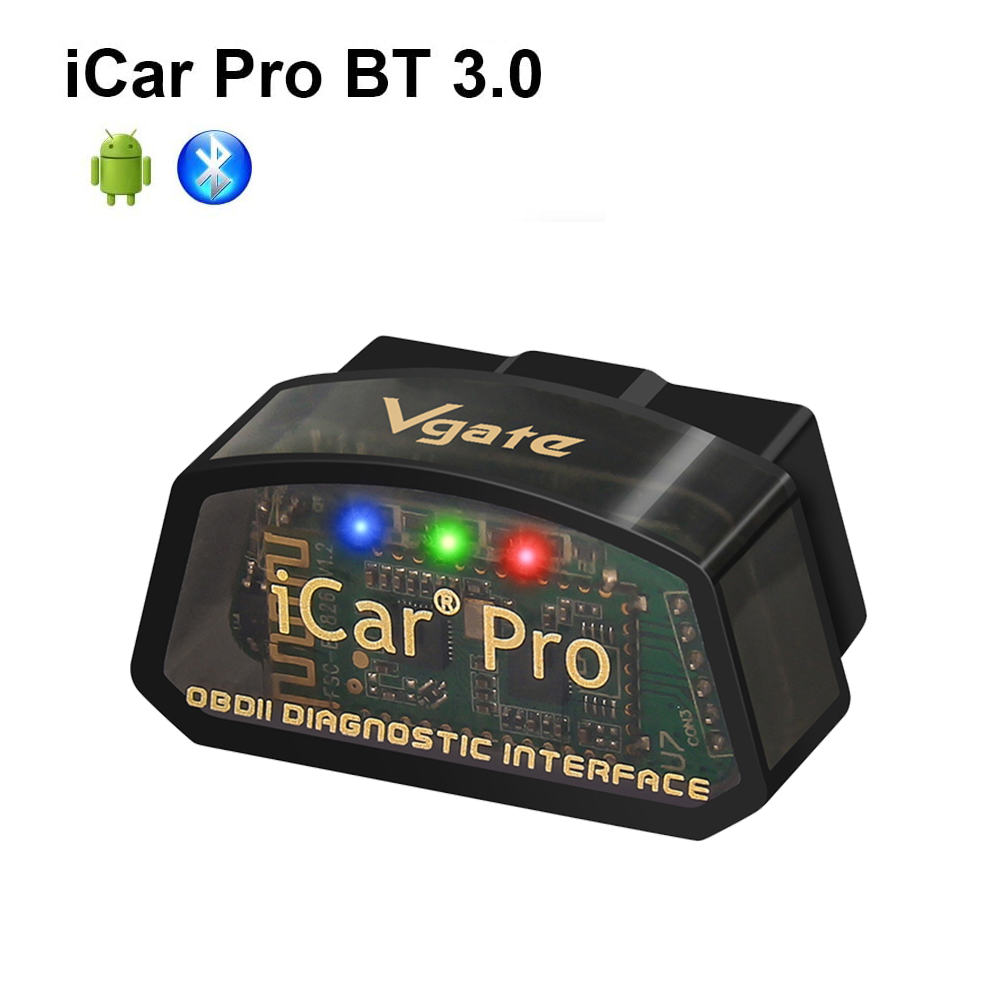
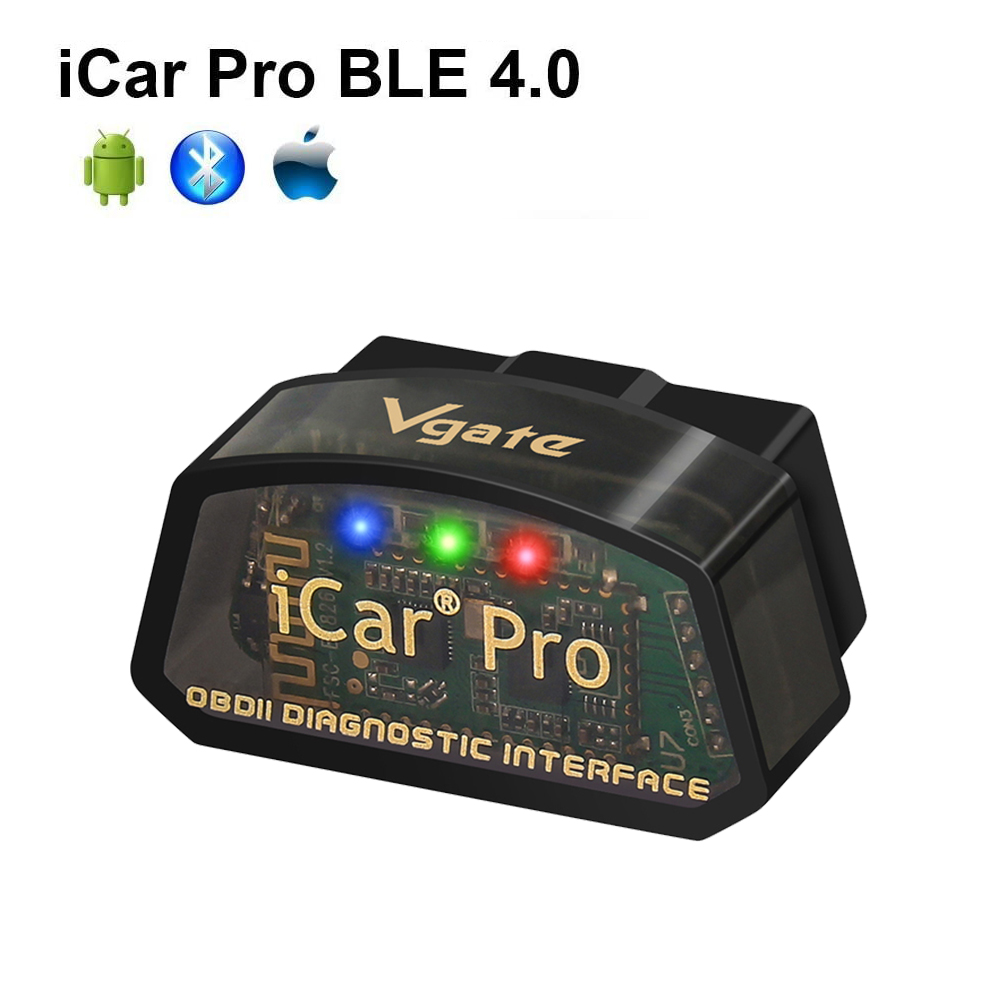
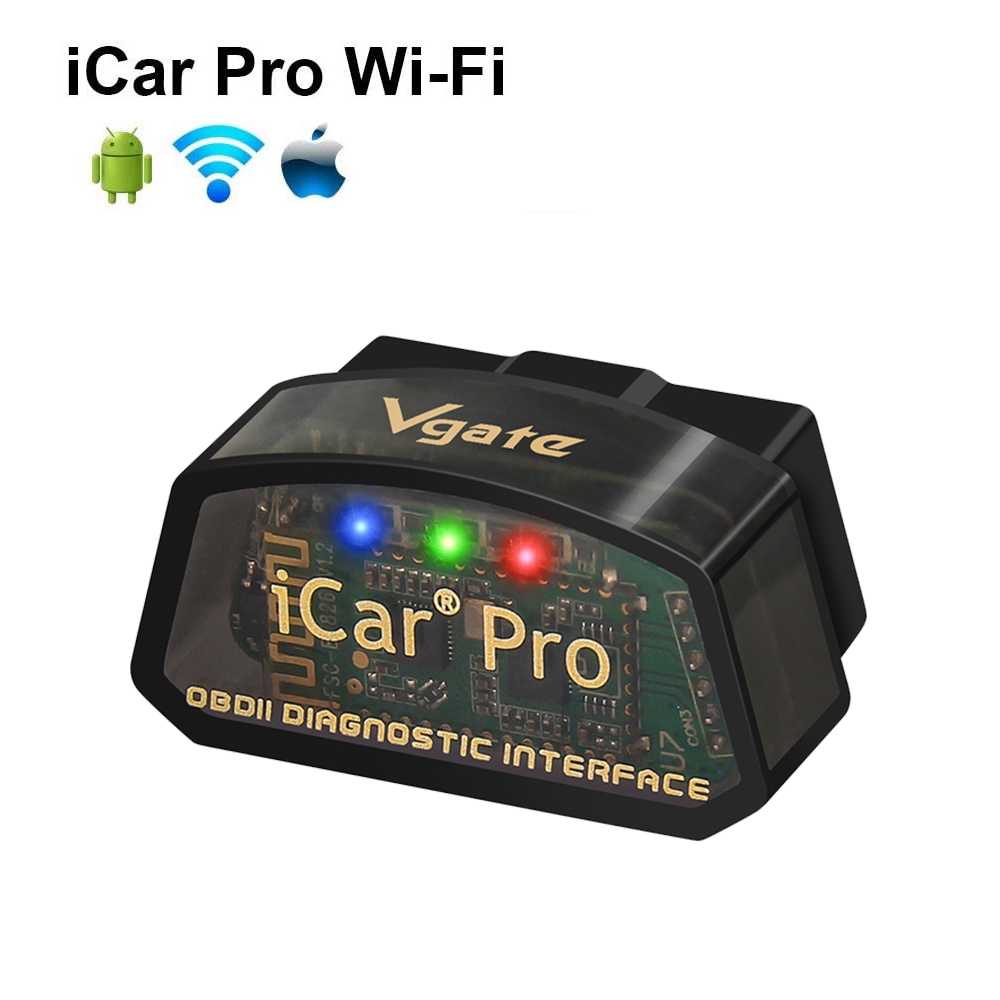
iCarPro Serise QR Code Update
1. Scan the QR code below with your phone's browser and download the 'VgateFwUpdater' app
2. Open Settings - Bluetooth - Connect 'iCarPro-Android' (iOS is not required), if it is WiFi connect WiFi can be (iCarPro BT3.0/BLE4.0/iCarPro WiFi can be upgraded in the same way, only the connection Bluetooth name or WiFi is different)
3. Open the 'VgateFwUpdater' application, click 'SCAN' to continue scanning the same QR code in the first step
4. Select Bluetooth or WiFi, according to their own device selection
5. Click 'DOWNLOAD' and wait for it to upgrade successfully, don't unplug the adapter in the middle

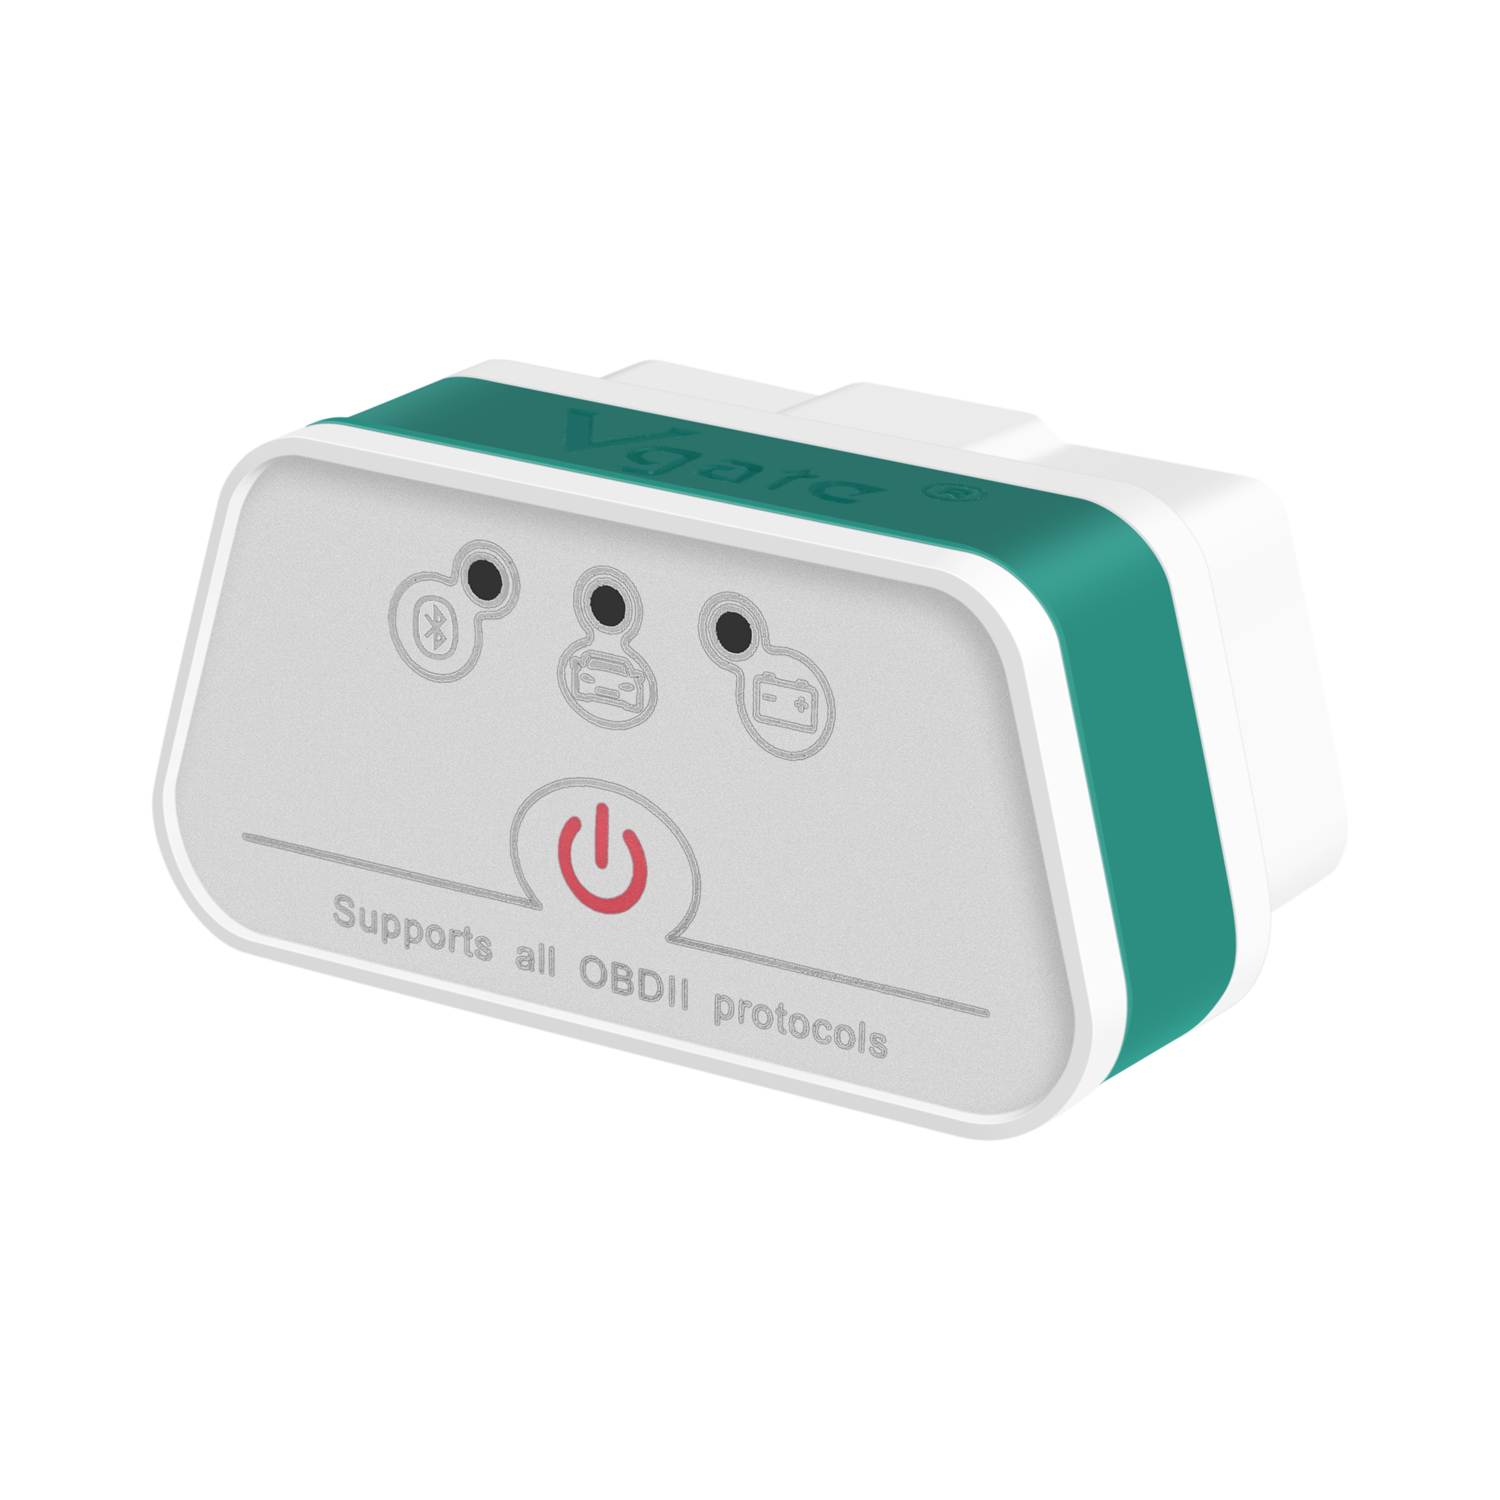
iCar2 Serise QR Code Update
1. Scan the QR code below with your phone's browser and download the 'VgateFwUpdater' app
2. Open Settings - Bluetooth - Connect 'iCar2-Android' (iOS is not required), if it is WiFi connect WiFi can be (iCar2 BT3.0/BLE4.0/iCar2 WiFi can be upgraded in the same way, just connect Bluetooth name or WiFi is different)
3. Open the 'VgateFwUpdater' application, click 'SCAN' to continue scanning the same QR code in the first step
4. Select Bluetooth or WiFi, according to their own device selection
5. Click 'DOWNLOAD' and wait for it to upgrade successfully, don't unplug the adapter in the middle

Operation content:
1.Turn on/off the automatic start-stop function of the engine control unit.
2.Coding active sound design.
Operation content:
1. Turns on/off the engine automatic start-stop function.
2. Coding time until automatic lock.
Operation content:
1.Turns on/off the automatic start-stop function of the engine control unit.
2.Coding start animation.
Operation content:
1.Turns on/off the automatic start-stop function of the engine control unit.
2.Coding start animation.
3.Coding brake force display activation speed.
4.Coding active sound design.
Operation content:
1.Turns on/off the engine automatic start-stop function.
2.Coding default driving mode.
3.Coding time until automatic lock.


